erick@spiewakgroup.com
0750-3668626
+86-13428282793


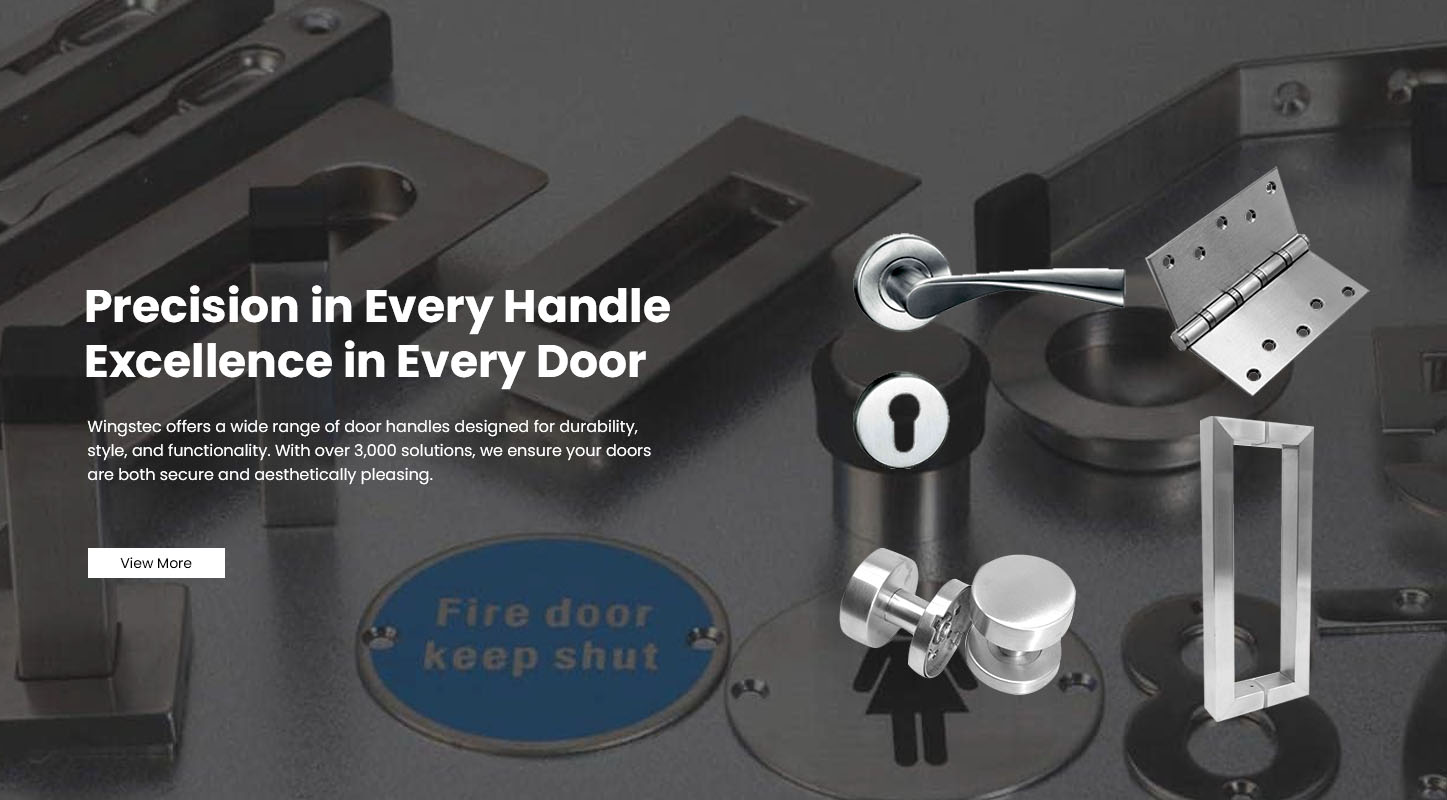
Door lever handles are designed for comfort, style, and function. However, in some situations — such as accessibility upgrades, thick doors, or ergonomic adjustments — you may need to extend the handle or its spindle length for a better fit.
Extending a door lever handle can improve usability, prevent clearance issues, and even enhance aesthetics when customized properly.
At WINGSTEC, we design lever handles with precision-engineered spindles and modular fittings, making them compatible with various extensions and adjustment kits. Here’s how to safely and effectively extend your lever handle.
Extending a lever handle isn’t just about appearance — it often solves practical problems related to door design, accessibility, and hardware compatibility.
Thicker Doors: Standard levers are made for 35–45mm doors, but thicker doors (such as security or fire doors) require longer spindles or handle extensions.
Accessibility Needs: For elderly users or those with limited hand mobility, extending the handle increases leverage and ease of use.
Decorative Design Adjustments: Longer handles may better match oversized plates or modern minimalist door designs.
Hardware Compatibility: When upgrading to electronic locks or adding trim covers, handle extension ensures proper clearance.
Custom Projects: In commercial installations or renovations, extension kits can simplify retrofitting new handles onto existing door frames.
All WINGSTEC lever handles are designed with adjustable spindle compatibility and custom extension options to suit diverse door structures.
Before starting, familiarize yourself with the main parts involved in extending a lever handle:
| Component | Function |
|---|---|
| Lever Handle | The part you grip to operate the latch. |
| Spindle | A square metal bar connecting both handles through the latch. |
| Extension Spindle | An added piece or longer replacement that increases overall reach. |
| Mounting Screws | Secure the handles to each side of the door. |
| Rosette or Escutcheon Plate | Decorative cover that may need repositioning during adjustment. |
WINGSTEC’s hardware is engineered with standard 7mm or 8mm square spindles, compatible with most European and international extension kits.
Gather the following basic tools before you begin:
| Tool | Purpose |
|---|---|
| Phillips screwdriver | To remove and reinstall the handles |
| Allen wrench (hex key) | To loosen or tighten set screws |
| Measuring tape | To measure door thickness and spindle length |
| Replacement or extension spindle | For adjusting length |
| Soft cloth | To protect the handle finish during work |
Measure the total door thickness, including both handle bases.
Standard handles fit 35–45mm doors. If yours is thicker, calculate the difference — this will determine how much extension you need.
Example: A 55mm door may require a 10mm spindle extension.
Locate and loosen the set screw (usually a small hex screw under the handle neck).
Pull the handle straight off the spindle.
Remove the decorative rosette if necessary to expose the mounting screws.
Unscrew and remove the mounting plate from the door.
This will reveal the spindle shaft passing through the latch mechanism.
There are two main methods to extend the spindle:
Purchase a longer spindle compatible with your door handle brand or type.
Slide it through the latch hub, ensuring equal length on both sides.
Reinstall the handles and test for alignment.
Insert one end of the existing spindle into the coupler.
Insert the extension spindle into the other side.
Secure both with the set screws included in the kit.
Confirm that the combined length matches your door thickness.
WINGSTEC’s precision square spindles ensure tight coupling, minimizing play or wobble even after multiple installations.
Reattach the mounting plates and secure them with screws.
Slide the handles back onto the spindle ends.
Tighten the set screws evenly on both sides.
Snap the decorative rosettes or covers back into place.
Test the handle multiple times — it should move smoothly and return to the neutral position automatically.
After reinstallation:
Ensure the handle operates the latch fully without sticking.
Check that both sides are aligned horizontally.
Tighten any loose screws or fittings.
Apply a small amount of silicone-based lubricant if motion feels stiff.
WINGSTEC lever handles feature anti-sag return springs and balanced internal tension systems, guaranteeing a stable, ergonomic feel even after modification.
When extending a lever handle, always follow safe installation practices:
Avoid overtightening set screws — this can strip threads or crack the handle neck.
Use genuine extension parts to maintain proper fit and durability.
Keep all components clean and lubricated for smooth operation.
Test latch alignment after adjustment to prevent mislocking.
Recheck screw tightness every 6–12 months to prevent handle wobble.
All WINGSTEC lever handles undergo 200,000 operational cycle tests and 96-hour salt spray tests, ensuring lasting performance after modification or long-term use.
WINGSTEC Hardware provides advanced solutions for modern architectural and residential applications.
Modular Engineering: Compatible with universal spindle extensions.
Heavy-Duty Construction: Solid zinc alloy or stainless steel bodies.
Smooth Operation: Precision-fit pivots reduce friction and wear.
Multiple Finishes: Matte black, brushed nickel, chrome, and gold.
Universal Compatibility: Works with standard latch systems and door types.
Whether extending for accessibility, design balance, or door thickness, WINGSTEC’s lever handles deliver reliable flexibility and refined appearance.
Extending a lever door handle is a simple yet effective way to improve comfort, usability, and compatibility with thicker doors. By measuring carefully, using proper extension components, and reinstalling precisely, you can achieve a perfect fit and professional finish.
WINGSTEC’s adjustable lever handles and precision spindles make this process seamless — offering modular flexibility, robust construction, and elegant design for every door system.