erick@spiewakgroup.com
0750-3668626
+86-13428282793


Lever Door Handles with visible screws are among the most straightforward and durable types of hardware. The screws are easy to locate, making removal and maintenance quick even for beginners.
Whether you’re replacing a worn-out handle, updating your décor, or performing basic repairs, knowing How To Remove A Lever Door Handle with screws can save time and prevent damage.
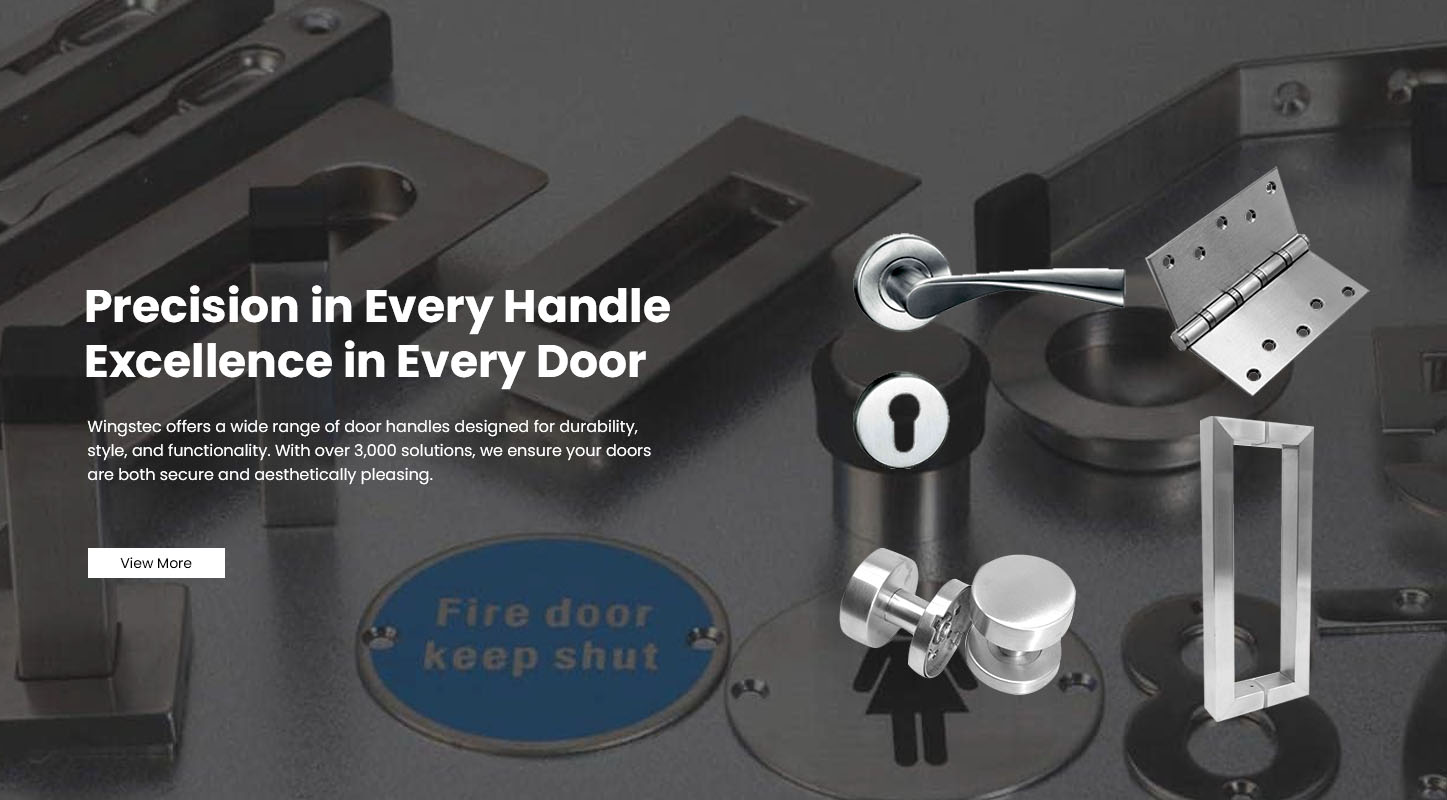
At WINGSTEC, we design high-precision lever handles that balance strength, style, and easy maintenance. Below is a complete, step-by-step guide to help you safely remove a lever handle with screws like a professional.
Unlike concealed or screwless models, lever handles with visible screws display their fasteners directly on the interior trim plate (rosette). These screws connect the interior and exterior handle assemblies through the door.
Simple installation and removal process.
Easy access for maintenance or replacement.
Strong mechanical connection ideal for heavy-duty use.
Reliable alignment that resists loosening over time.
WINGSTEC’s screw-mounted lever handles feature solid metal bodies, anti-sag return springs, and precision-threaded screws, ensuring long-term performance and structural stability.
Before starting, prepare these essential tools:
| Tool | Purpose |
|---|---|
| Phillips screwdriver | For removing mounting screws |
| Flathead screwdriver | For prying decorative covers (if present) |
| Allen wrench (optional) | For any hex set screws |
| Soft cloth or tape | To protect door and handle finishes |
| Small container | To store screws and components |
Always work on one side of the door at a time to avoid losing internal components.
Inspect the interior side of the door handle.
You will usually find two visible Phillips screws on the rosette or base plate.
If they are covered by a decorative cap:
Use a small flathead screwdriver to pop off the cap gently.
Be careful not to scratch the finish.
WINGSTEC lever handles use precision-fit covers that can be lifted easily and reattached without damage.
Once the screws are visible:
Hold the exterior lever firmly to prevent it from falling.
Use a Phillips screwdriver to turn both screws counterclockwise.
Remove each screw completely and set them aside safely.
After removing both screws, the interior handle will separate from the exterior lever.
Some models include an additional decorative plate that conceals the mounting bracket.
Use a plastic trim removal tool or a taped flathead screwdriver.
Pry gently around the plate edge until it releases.
Underneath, you’ll see the handle’s mounting bracket attached to the door.
If your model doesn’t have a separate cover plate, you can move directly to latch removal.
If you plan to replace the entire handle set:
Open the door and locate the latch faceplate on the edge.
Remove the two screws securing it.
Pull the latch mechanism out from the door cavity.
At this stage, all parts — handle, latch, and mounting plate — should be fully detached.
Before installing a new handle or reassembling:
Inspect the spindle for wear or rounding.
Check the screws for corrosion or stripped threads.
Wipe the handle area with a soft cloth to remove dust and residue.
Lubricate the latch lightly with silicone spray for smoother operation.
All WINGSTEC lever handles are tested for 200,000+ operational cycles, ensuring they remain firm and functional even after repeated maintenance.
| Problem | Cause | Solution |
|---|---|---|
| Screws are stuck or rusted | Exposure to moisture | Apply a small drop of lubricant and wait 10 minutes before retrying |
| Handle won’t come off after unscrewing | Spindle jammed in latch | Wiggle the handle gently while pulling outward |
| Decorative cap won’t lift | Dried paint or debris | Use a plastic tool and gentle pressure |
| Screw head stripped | Worn screwdriver tip | Replace tool or use pliers to loosen screw carefully |
WINGSTEC recommends using high-quality tools to prevent surface damage or screw deformation.
To ensure your new or reinstalled handle lasts longer:
Re-tighten screws periodically every 6–12 months.
Avoid overtightening during installation — it can distort the plate.
Keep handles clean and dry to prevent corrosion.
Lubricate internal parts lightly once a year.
WINGSTEC’s corrosion-resistant finishes and reinforced mounting systems ensure durability even in humid or high-traffic environments.
WINGSTEC Hardware designs and manufactures a wide range of screw-mounted lever handles that combine industrial strength with modern aesthetics.
Solid Metal Construction: Zinc alloy or stainless steel for heavy-duty stability.
Precision Thread Design: Prevents loosening and ensures alignment.
Universal Compatibility: Fits both left-hand and right-hand doors.
Easy Maintenance: Straightforward screw access for quick removal or repair.
Premium Finishes: Available in chrome, matte black, brushed nickel, and gold.
Whether used in homes, offices, or hotels, WINGSTEC lever handles provide the reliability professionals trust and the elegance designers demand.
Removing a lever door handle with screws is simple and efficient — just locate the visible screws, remove the trim plate if necessary, unscrew the mounting bracket, and detach the latch assembly. With the right tools and a gentle touch, the process takes only a few minutes.
WINGSTEC’s precision-engineered screw-mounted lever handles make installation and maintenance even easier. Built for long-lasting stability, our handles combine strength, style, and effortless servicing, making them the ideal choice for any modern door system.