erick@spiewakgroup.com
0750-3668626
+86-13428282793


Commercial lever Door Handles are built for heavy-duty performance — found in offices, hotels, schools, and public buildings. These handles are designed to withstand thousands of uses daily while maintaining security and durability. But what happens when you need to remove or replace one?
Whether you’re performing maintenance, upgrading the hardware, or rekeying the lock, removing a commercial lever handle correctly ensures the job is safe, fast, and damage-free.
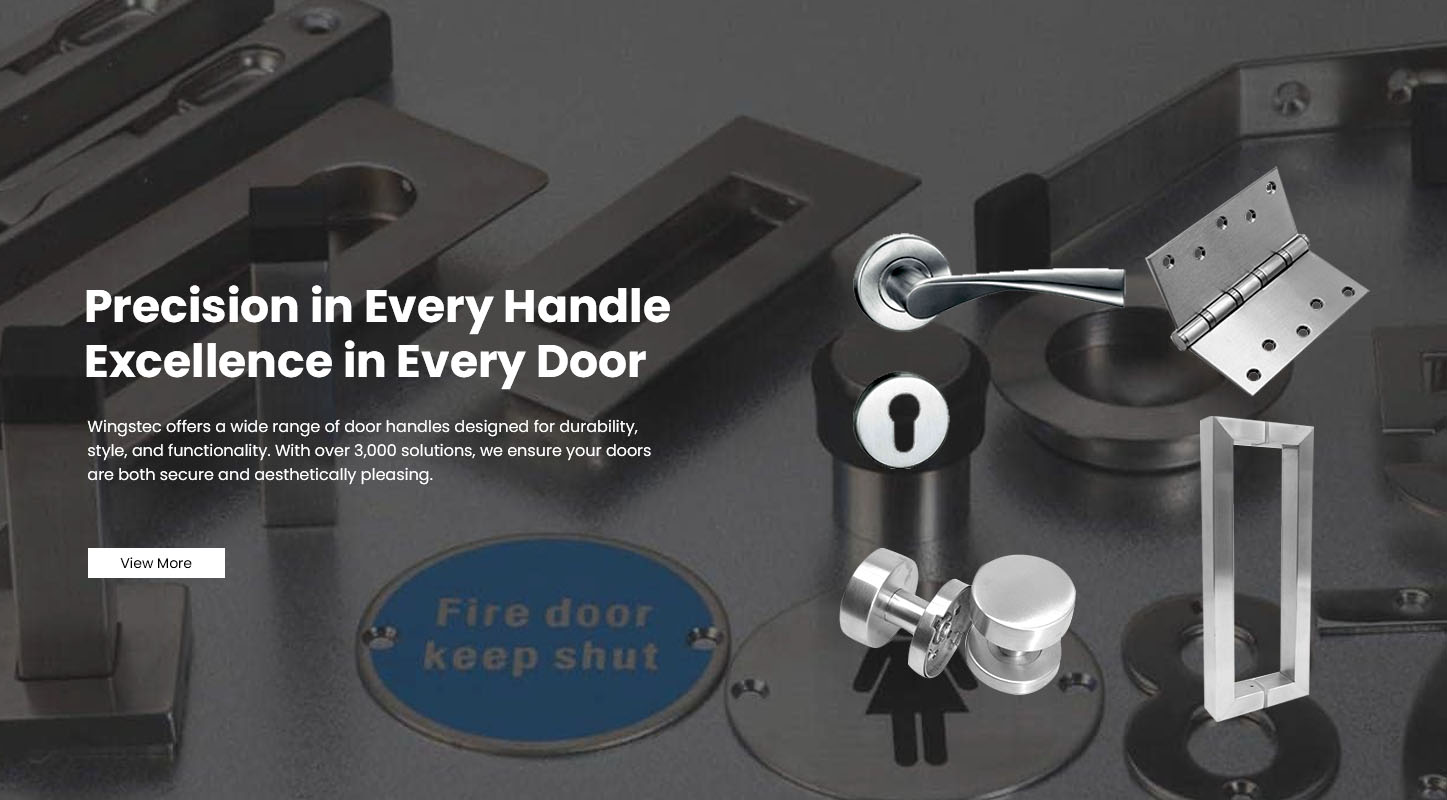
At WINGSTEC, we manufacture precision-engineered commercial door handles and locksets designed for effortless installation and easy servicing. Here’s your complete step-by-step guide to removing a commercial lever handle like a professional.
Before removal, it’s helpful to understand how a commercial lever handle is built.
Most commercial door levers consist of:
Lever handle pair: One on each side of the door.
Spindle or drive shaft: Connects both levers through the latch.
Latch mechanism: Engages and releases when the lever is pressed.
Retaining mechanism: Keeps the handle fixed to the spindle, often using a spring clip or set screw.
Mounting plate or escutcheon: Secures the assembly to the door.
WINGSTEC’s commercial handles use industrial-grade zinc alloy bodies, anti-sag return springs, and precision spindles for reliable long-term operation — yet they remain easy to remove for maintenance.
Prepare the following tools before beginning:
| Tool | Purpose |
|---|---|
| Small flathead screwdriver | To release retaining clips or covers |
| Allen wrench (hex key) | To loosen set screws inside lever neck |
| Phillips screwdriver | To remove mounting plate screws |
| Trim removal tool or putty knife | To gently lift decorative covers |
| Soft cloth or tape | To protect door surface during disassembly |
Having these ready ensures smooth, efficient work — especially in commercial environments where downtime must be minimal.
Most commercial lever handles feature a small detent hole (release slot) on the neck of the lever, near where it meets the door plate.
Insert a small flathead screwdriver or pin into the slot.
Press inward gently while pulling the lever outward.
The handle should slide off the spindle easily.
This release mechanism is common in keyed commercial levers like WINGSTEC’s Grade 2 and Grade 3 models, which prioritize easy servicing.
Once the lever is off, locate the trim plate covering the screws.
Gently pry around its edge using a trim tool or a flat screwdriver wrapped in tape.
Lift the plate evenly to avoid bending or scratching.
You’ll now see the mounting screws securing the handle assembly.
Use a Phillips screwdriver to remove the two screws holding the mounting plate in place.
Keep the screws safe for reinstallation.
The handle’s interior assembly (on the opposite side of the door) should now loosen and slide off.
WINGSTEC’s commercial levers use reinforced steel mounting plates, ensuring stable installation while allowing easy access for maintenance or replacement.
If you’re replacing the entire lockset:
Open the door and locate the latch faceplate on the door’s edge.
Unscrew the two screws holding it.
Pull the latch assembly out gently.
Clean the cavity before inserting a new latch or inspecting internal parts.
Once the handle and latch are removed:
Check for worn spindles, springs, or latch tongues.
Ensure all parts are clean and rust-free.
Replace any broken or loose components with OEM-grade replacements.
WINGSTEC’s modular design allows components to be replaced individually, reducing maintenance costs.
Not all commercial levers are removed the same way. Here are the three main retention systems you may encounter:
| Retention Type | Description | How to Remove |
|---|---|---|
| Detent Release (Spring Clip) | Uses a pinhole and spring latch to hold the lever | Press the detent pin and pull off the lever |
| Set Screw | Small hex screw under the lever neck secures it to the spindle | Loosen with Allen key, then remove the lever |
| Push Button Release | Found on some high-security levers; release hidden button to detach handle | Use small screwdriver to press and pull simultaneously |
WINGSTEC commercial handles primarily use the detent release design, combining both safety and quick disassembly for service technicians.
Always support the lever when loosening it to prevent sudden drops.
Avoid excessive force — commercial-grade handles have tight tolerances.
Mark handle orientation before removal to ensure correct reinstallation.
Disconnect latch linkage gently to avoid bending.
When replacing handles, always verify door handing (left or right swing).
Proper handling preserves the finish and prevents damage to surrounding surfaces — especially on stainless steel or powder-coated doors.
While most commercial lever handles are serviceable, replacement may be the better option if:
The lever sags due to a broken internal spring.
The spindle or latch is stripped or deformed.
The handle finish is corroded or faded.
The locking mechanism fails to engage properly.
WINGSTEC’s replacement lever handles offer universal fit systems, solid metal cores, and adjustable mounting plates suitable for retrofitting in most commercial door preps.
Before reinstalling or replacing a lever handle:
Clean the spindle and latch cavity with a dry cloth.
Lubricate moving parts lightly with silicone or graphite-based lubricant.
Tighten screws evenly to maintain perfect alignment.
Test the latch for smooth engagement before final installation.
All WINGSTEC commercial door handles are tested for 200,000+ operational cycles and salt-spray corrosion resistance, ensuring long-term stability and reliability even in high-traffic environments.
WINGSTEC’s hardware is engineered with both functionality and design precision in mind:
Heavy-Duty Construction: Made from solid zinc alloy or stainless steel.
Universal Compatibility: Fits most standard commercial door lock preps.
Anti-Sag Mechanism: Keeps handles level after years of use.
Concealed Mount System: Clean, professional appearance.
Easy Servicing: Detent-release system allows quick maintenance.
From offices to public buildings, WINGSTEC lever handles combine strength, safety, and style — built to last in demanding environments.
Removing a commercial lever door handle doesn’t have to be difficult. Once you identify the release mechanism — whether it’s a detent pin, set screw, or concealed clip — the process is straightforward. By following the correct steps and using the right tools, you can safely remove, service, or replace any handle without damaging the door.
WINGSTEC designs all of its commercial lever handles for easy maintenance, universal compatibility, and long-term reliability. Whether you’re upgrading your facility’s hardware or performing routine service, our handles ensure a balance of durability, performance, and modern design for every project.