erick@spiewakgroup.com
0750-3668626
+86-13428282793


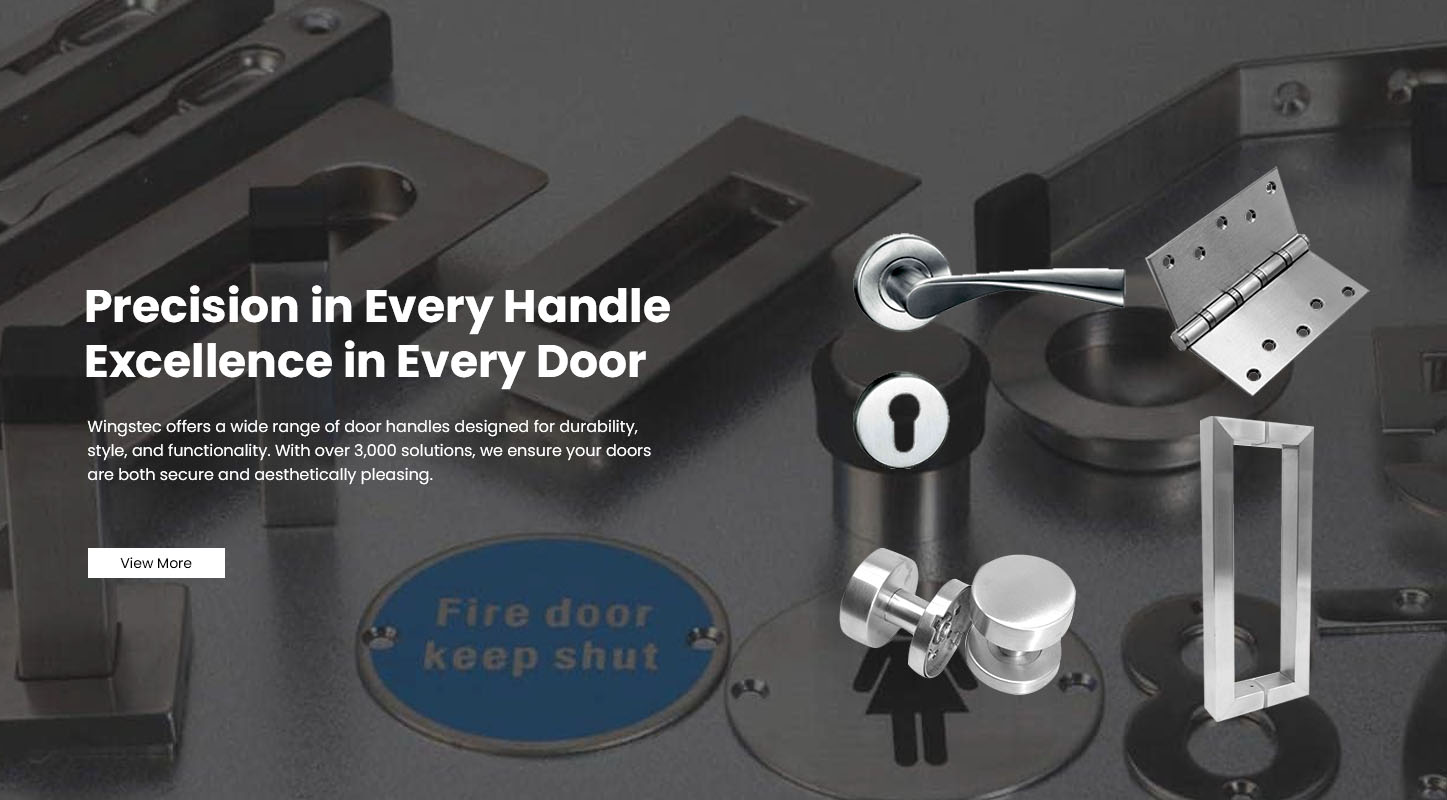
Lever Door Handles are popular for their comfort, style, and accessibility. However, after years of daily use, handles can become worn, loose, or outdated. Replacing them is a simple and rewarding project that instantly refreshes the look and function of your door.
This guide explains how to replace a lever door handle step by step — from removing the old handle to installing a new one — using basic tools you likely already own.
Before starting, prepare everything you need to make the process smooth and efficient.
Phillips screwdriver
Flathead screwdriver
Allen (hex) key
Lubricant or penetrating oil (optional)
Masking tape or soft cloth
New lever door handle set
Matching latch or Lock Body (if included)
Screws and spindle (usually provided with the new handle)
Tip: Always confirm your new handle matches your door thickness, backset, and handing direction before removing the old one.
Check the underside of the lever neck or side of the rose plate for a small set screw.
Use the appropriate Allen key or screwdriver to loosen it (turn counterclockwise).
Once the set screw is loose, pull the lever handle away from the door.
Repeat on the other side until both handles and the spindle (the square rod connecting them) are removed.
If your handle has a decorative rose, gently pry it off with a flat screwdriver wrapped in tape to avoid scratching the surface.
Beneath it, you’ll find the mounting screws that secure the handle to the door.
Use a Phillips screwdriver to remove the screws connecting both sides of the handle. Hold the opposite handle while doing this so it doesn’t drop or damage the door.
Unscrew the latch faceplate on the edge of the door. Pull the latch out gently from its cavity.
If the new handle uses the same latch, keep it in place.
Before installing, check that:
The door holes are clean and free of debris.
The latch faceplate sits flush with the door edge.
The spindle hole aligns correctly through the latch.
The new handle fits the existing screw holes (or use the provided template if drilling is needed).
Lightly lubricate the latch if it feels stiff, and test the movement to ensure smooth operation.
Position the new latch in the door edge so the beveled side faces the direction the door closes.
Secure it with the supplied screws using your screwdriver.
Slide the spindle through the latch mechanism until it appears on both sides of the door.
Make sure it rotates freely and smoothly retracts the latch when turned.
Place the exterior lever handle over the spindle and align it with the screw holes.
Hold it in position.
Position the interior handle on the other side, ensuring both sides are flush and properly aligned.
Insert the mounting screws through the interior plate into the exterior handle’s threaded holes.
Tighten the screws evenly, alternating between them to maintain balance.
Avoid over-tightening, which could bend the plate or restrict handle movement.
Once the handles are firmly attached, tighten the set screw under the lever neck to lock it onto the spindle.
Before finishing, test your work:
Turn the lever to check the latch retracts and releases properly.
Make sure the lever returns to the horizontal position when released.
Ensure the door closes easily and the latch engages smoothly in the strike plate.
If the handle feels stiff or misaligned, slightly loosen the mounting screws, adjust, and re-tighten.
Replace the decorative rose or cover plate by pressing or snapping it back into place.
Wipe the surface with a soft cloth to remove fingerprints.
Apply a light lubricant to the latch for smoother performance.
For matte or brushed finishes, use only mild soap and water — avoid harsh chemicals that may damage coatings.
Check handle screws every 6–12 months and tighten if needed.
Sometimes replacing just the handle isn’t enough. You should replace the latch or lock if:
The latch fails to retract or extend properly.
The internal spring is weak or broken.
The door won’t close or lock even with new handles.
You’re upgrading to a different security standard (e.g., keyed or smart lever).
Installing a new latch follows the same steps but may require adjusting the strike plate on the frame for perfect alignment.
Replacing a lever door handle is an easy DIY project that instantly improves the look and function of your door.
In short:
Remove the old handle and latch.
Check alignment and clean the mounting holes.
Insert the new latch and spindle.
Attach and secure both handles.
Test operation and make minor adjustments.
With a few simple tools and about 20–30 minutes, your door will operate smoothly and look brand new again.
For premium lever door handles made of stainless steel, zinc alloy, and aluminum, designed for long life and easy installation, visit Wingstecmall.com — your trusted global supplier of architectural hardware.
Previous: Are Lever Door Handles Universal