erick@spiewakgroup.com
0750-3668626
+86-13428282793


A loose lever door handle is one of the most common issues in both residential and commercial doors. Over time, repeated use, vibration, and natural wear cause screws, spindles, or internal springs to loosen — leaving the handle wobbly or unresponsive.
Fortunately, you don’t always need to replace the entire handle. In most cases, tightening, aligning, or cleaning key parts can restore smooth operation in minutes.
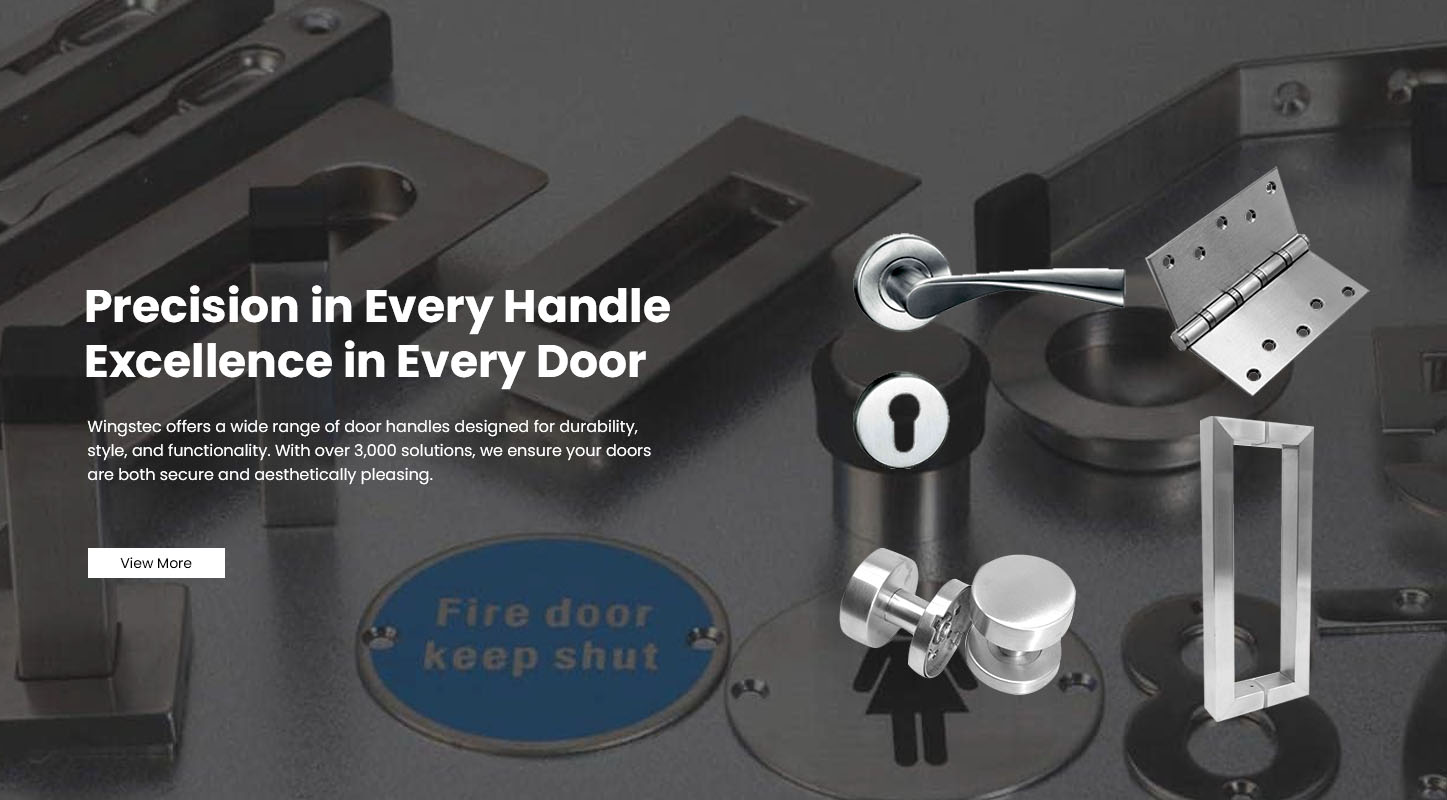
This article provides a comprehensive guide on how to fix a loose lever door handle, covering both exposed-screw and concealed-screw types, essential tools, preventive care, and expert tips from Wingstec, a professional manufacturer of high-quality Door Hardware.
Before fixing the problem, it helps to understand the causes. Common reasons include:
Screws securing the handle or spindle can gradually back out after thousands of uses. Over-tightening during installation can also strip the threads.
The spindle connects both handles through the latch. If the square bar wears down or the internal sleeve enlarges, the handle wobbles even when screws are tight.
Inside many handles is a spring cassette that returns the lever to its horizontal position. When this weakens, the lever droops or feels slack.
Improperly aligned mounting plates or uneven screw torque can create gaps and movement over time.
Cheaper alloy handles may deform or loosen more quickly under heavy use compared with stainless steel or zinc-alloy constructions.
Identifying the correct cause ensures that your fix will be effective and lasting.
Prepare these items before beginning the repair:
Phillips and flat-head screwdrivers
Allen (hex) keys
Small Torx driver (for special fasteners)
Needle-nose pliers
Lubricant or thread-locker (medium strength)
Cleaning cloth
Masking tape
Optional: replacement screws or spring cassette
Having the right tools prevents further damage to screws or decorative finishes.
This modern style hides the screws under a snap-on or threaded rosette. You’ll need to remove the cover to access the fixings.
Here, the screws are visible on the plate. Fixing is simpler — just tighten or replace them.
Used mainly on commercial doors, these are secured with bolts running through the door. Repair usually requires tightening both sides simultaneously.
Knowing your handle type determines which steps to follow next.
Apply masking tape around the handle to avoid scratches.
Lay a towel underneath to catch small parts or screws.
Gently wiggle the lever up and down, and side to side.
If the entire handle base moves — the mounting screws are loose.
If only the lever wobbles — the set screw on the spindle is likely loose.
If the lever droops downward — the spring mechanism may be worn.
For exposed-screw handles: Simply locate and tighten the visible screws on the plate.
For concealed-screw handles:
Look for a thin line or gap around the circular cover.
Insert a small flat screwdriver (tip wrapped in tape).
Gently pry or twist to remove the cover.
Expose the hidden screws underneath.
Most lever handles have a set screw underneath the lever neck that secures it to the spindle.
Use the correct Allen key and tighten clockwise until snug.
Avoid over-tightening — this can strip the threads or seize the lever.
Using a Phillips screwdriver, tighten both screws that hold the inner plate or backplate to the door.
If the screw holes are stripped:
Remove the screw, insert a small piece of wood toothpick coated in glue, and reinsert the screw.
Alternatively, use slightly longer screws for better grip.
Pull the lever slightly and test the latch retraction.
If the spindle spins freely without moving the latch, the spindle may be worn or not fully inserted.
Re-seat it firmly into the latch mechanism and retighten the handle.
Once everything feels solid:
Replace the cover plate or rosette.
Ensure it clicks or threads securely into place.
Test lever operation several times to confirm smooth return and no looseness.
If your handle stays angled downward instead of returning to horizontal, the internal spring cassette has likely weakened.
Remove both levers using the same steps above.
Locate the spring cassette between the handle and the latch body.
Check for cracks or broken tabs.
Replace it with a new spring cassette of the same size and design.
Reassemble the handle, ensuring the spring tabs align correctly with the lever spindle.
Replacing the spring is an inexpensive and permanent solution that restores smooth return motion.
For handles secured with through-bolts:
Hold one side of the handle firmly.
Use a screwdriver on the opposite side to tighten the bolt.
Alternate between sides for even tension.
If bolts continue to loosen, apply a drop of medium-strength thread locker to the threads.
Thread locker prevents vibration from loosening bolts over time — a common issue on frequently used doors.
When wood or metal screw holes become worn:
Insert a wooden dowel or toothpicks coated with glue into the hole.
Let dry, then redrill a pilot hole and reinstall the screw.
For metal doors, use an expanding anchor or thread repair kit.
Ensure screws fit tightly without wobbling.
This repair restores holding strength without replacing the entire handle.
Once fixed, apply these preventive measures:
Routine Inspection: Check handles every 6–12 months for early signs of play.
Use Correct Torque: Avoid over-tightening, which damages threads.
Lubricate Periodically: Keep spindles and latch mechanisms lubricated for smoother operation.
Install Quality Hardware: Inferior alloys deform faster. Stainless steel or zinc-alloy handles (such as those from Wingstec) last longer.
Control Door Impact: Prevent slamming — constant shock loosens screws faster.
Regular care extends the lifespan of both handle and latch components.
Wingstec engineers recommend the following for long-term performance:
Always match handle type to door function (e.g., privacy, passage, entrance).
For commercial environments, use handles rated for >100,000 cycles.
Apply silicone-based lubricant once yearly.
Inspect spring cassettes and replace them every 3–5 years in heavy-traffic areas.
Choose corrosion-resistant finishes such as brushed stainless steel or electroplated matte black.
By following these practices, you’ll maintain both aesthetic appeal and mechanical integrity.
Wingstec is a trusted global supplier of architectural hardware, offering:
Premium materials: Stainless steel 304/316, zinc alloy, and brass.
Modern designs: Lever on rose, lever on backplate, and concealed-fix models.
Surface finishes: Brushed, satin, matte black, chrome, or gold.
OEM & ODM service: Custom branding, packaging, and design options.
Rigorous testing: Each handle undergoes torque, corrosion, and fatigue tests for consistent quality.
Visit www.wingstecmall.com to explore a full range of lever handles, locks, and door accessories designed for performance and durability.
Q1: Can I fix a loose handle without removing it?
If only the lever wobbles, tightening the set screw might be enough. But for base movement, you’ll need to remove the cover and tighten mounting screws.
Q2: What if the handle keeps loosening again after a few weeks?
Apply a small amount of thread locker on the screw threads before tightening. This prevents vibration from loosening them.
Q3: Is lubricant necessary?
Yes. A light application on the spindle reduces friction and wear, making the handle smoother and prolonging life.
Q4: My handle droops after tightening. Why?
That’s a sign of a broken internal spring cassette. Replacing it will restore the lever’s self-return function.
Q5: Can I replace just one side of the handle?
Usually not recommended. Handles are sold as matched pairs with aligned spindles and springs. Replacing both ensures balanced operation.
Fixing a loose lever door handle is quick and simple once you know the cause. Whether it’s tightening a set screw, replacing a worn spring, or repairing stripped holes, most issues require only basic tools and minimal time.
With proper maintenance and high-quality materials, your handle can last for many years. For reliable, precision-made lever handles, lock systems, and hardware accessories, choose Wingstec — a trusted manufacturer serving global builders and suppliers.
Discover more durable and stylish solutions at www.wingstecmall.com.