erick@spiewakgroup.com
0750-3668626
+86-13428282793


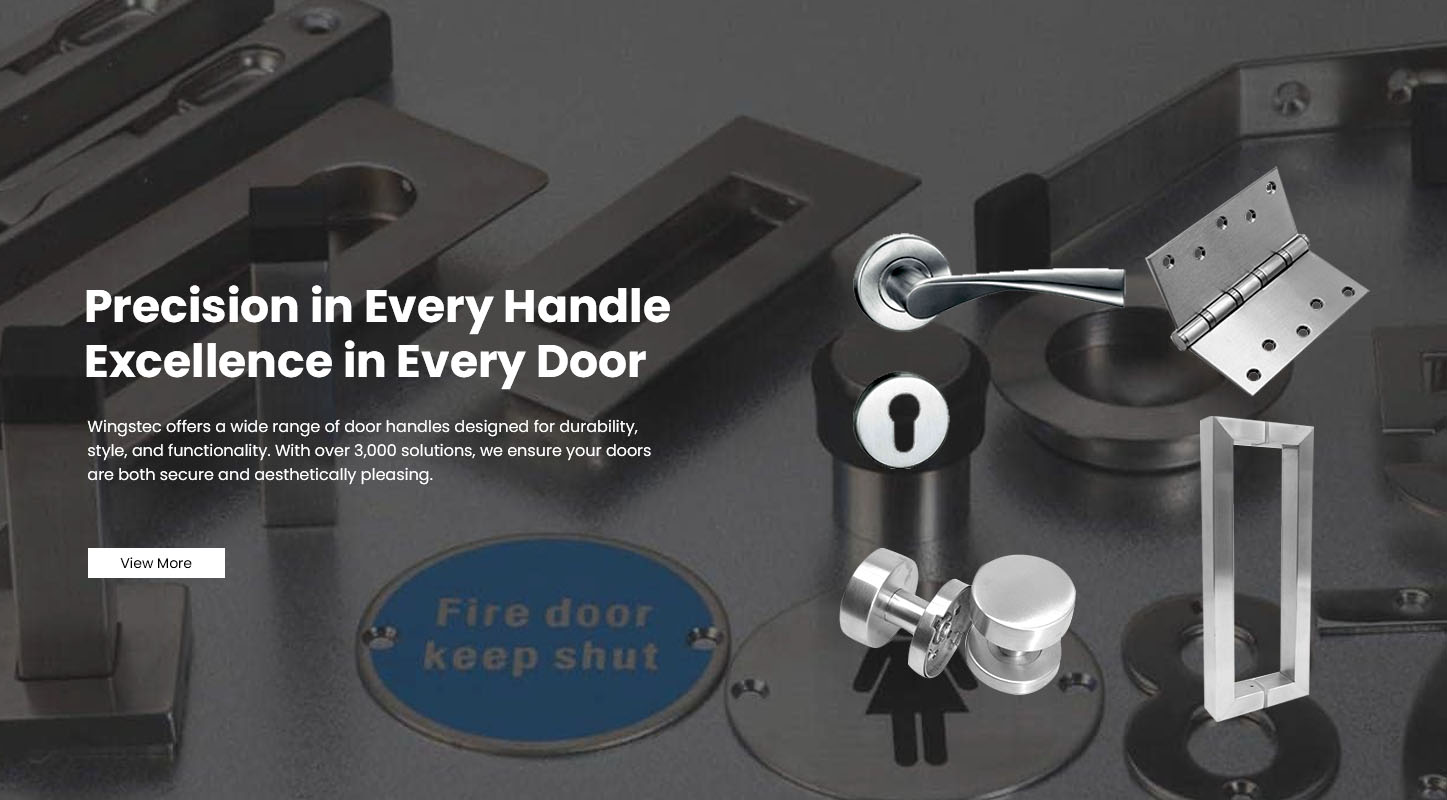
Modern lever Door Handles often feature a sleek and seamless design — with no visible screws on the surface. While this makes them visually appealing, it can leave homeowners puzzled when it comes time to remove or replace them.
If you’ve ever looked at your door handle and wondered where the screws are hiding, this guide will help.
In this detailed tutorial, you’ll learn how to remove a lever door handle with hidden screws, step by step, without damaging your door or hardware. Whether you’re upgrading to a new handle or performing maintenance, this article covers everything you need — from identifying concealed fasteners to reinstalling your new handle professionally.
Hidden-screw or concealed-fix handles are designed to achieve a cleaner, more elegant appearance. They’re common in modern interiors and commercial spaces where visual simplicity matters.
Instead of exposed face screws, these handles use a snap-on cover, retaining clip, or hidden set screw underneath the lever neck or base.
Advantages of hidden screws:
Cleaner, minimalist design
Added security against tampering
Easier cleaning and better corrosion resistance
Compatible with modern stainless-steel and zinc alloy finishes
However, these same design benefits make removal less intuitive. That’s why following the correct steps — and using the right tools — is essential.
Before starting, prepare a few simple tools to ensure a smooth process:
Flathead screwdriver (small tip)
Phillips screwdriver
Allen key (commonly 2mm or 2.5mm)
Torx driver (optional)
Needle-nose pliers
Masking tape
Lubricant (WD-40 or silicone-based)
Soft cloth or towel
Safety gloves
Having these ready avoids interruptions and reduces the risk of scratching or stripping parts.
Not all concealed handles are the same. There are three common hidden fastener designs:
This type has a decorative circular rosette that snaps over the mounting plate. Screws lie underneath the cover. To access them, you’ll need to pry the cover off gently.
A small grub screw or Allen screw is located on the underside of the lever’s neck. Once loosened, the lever slides off, exposing the mounting plate screws beneath.
Some handles have a tiny pinhole beneath the lever. Inserting a release pin or paperclip compresses the spring clip that holds the lever in place.
Identifying which type you have will determine your first move.
Use masking tape around the handle to protect the finish. Lay a towel below the door to catch any small screws or pins.
Look under the lever for a small hole or slot. Use a flashlight if necessary.
If you find a hole — it likely hides a release pin.
If you see a narrow slit — that’s usually a set-screw access point.
If nothing is visible — it might use a snap-on rosette design.
For set-screw types: Insert the appropriate Allen key and turn counterclockwise until the lever loosens. Slide the lever off the spindle gently.
For release-pin types: Insert a straightened paperclip or thin screwdriver into the hole and press while pulling the lever outward. The spring clip will release the lever.
For snap-on covers: Use a flat screwdriver (tip wrapped in tape) to pry the cover off carefully from the edge.
Once the lever is removed, the decorative cover plate becomes visible.
Gently twist or lift the rosette off — some are threaded, others simply clip on. Underneath, you’ll see two screws securing the mounting plate.
Use a Phillips screwdriver to remove both screws holding the inner mechanism to the door. Hold the opposite side of the handle so it doesn’t fall.
Slide out the square spindle that connects both handles through the latch mechanism.
If you’re replacing the latch or Lock Body, remove the screws along the door edge and gently pull out the latch.
After removal, wipe away dust or paint residue. Check the latch cavity for wood splinters or wear.
If you plan to install a new handle, ensure the door holes are undamaged and properly aligned.
If the lever doesn’t slide off after loosening the screw:
Confirm the screw is completely released.
Apply a small amount of lubricant around the neck.
Gently twist while pulling — avoid excessive force.
A build-up of paint or adhesive can glue the plate to the door.
Score around the edge with a utility knife, then use a taped screwdriver to pry it off slowly.
Spray penetrating oil and wait several minutes before retrying. If stripped, use a screw extractor bit.
Manufacturers often hide screws beneath removable decorative caps. Feel gently around the base — you may notice a thin seam indicating a cap you can pop off.
Use a damp cloth to remove residue or debris. If holes are visible from previous installations, fill them with wood filler and sand smooth.
If the latch doesn’t retract smoothly, apply light graphite lubricant or replace it entirely.
Close the door to ensure the latch lines up with the strike plate. Misalignment may cause stiffness when opening or closing.
Before installing a new handle, confirm:
Door thickness (usually 35–45 mm for interior doors)
Backset measurement (distance from door edge to spindle center)
Spindle size and shape
Finish and material compatibility
Once your old handle is off, installing a new one is straightforward:
Insert the spindle through the latch hole.
Align both handle sides and loosely insert screws.
Tighten screws evenly while checking operation.
Attach the rosette or cover back on.
Test lever return and latch engagement.
Wingstec’s door handle systems are designed for quick installation, saving time on-site while maintaining a professional finish.
Even high-quality handles need care to remain smooth and corrosion-free:
Clean with mild soap and a soft cloth; avoid harsh chemicals.
Lubricate the spindle annually with silicone grease.
Check and tighten screws every 6–12 months.
Keep indoor humidity below 60% to prevent rusting in metal handles.
For stainless steel finishes, polish periodically with a microfiber cloth.
Sometimes, a lever handle is beyond repair. Replace your handle if:
The spring mechanism is broken or loose.
The finish has deep corrosion or scratches.
The latch doesn’t retract even after lubrication.
The handle wobbles despite tightened screws.
New concealed-fix lever handles from Wingstec feature reinforced internal springs, precision machining, and high-grade surface coatings — ensuring smooth function and long service life.
As a global supplier of architectural and furniture hardware, Wingstec provides:
Complete door handle systems: lever handles, locks, hinges, stoppers, and accessories.
Material options: stainless steel, zinc alloy, aluminum, and brass.
Custom finishes: satin, brushed nickel, matte black, or polished chrome.
OEM & ODM capabilities: personalized branding, packaging, and design.
Strict quality control: each handle tested for over 100,000 operation cycles.
With precision manufacturing and export experience, Wingstec ensures every product meets global standards for durability and safety.
Visit www.wingstecmall.com to explore more door hardware solutions.
Q1: Do all hidden-screw handles have the same removal method?
No. Some use release pins, others use set screws or threaded covers. Always inspect the base carefully before prying or unscrewing.
Q2: Can I reuse my old handle after removal?
Yes, if it’s in good condition and matches the new door’s backset and thickness. Clean and lubricate before reinstalling.
Q3: How can I tell if my handle has hidden screws?
If you don’t see screws on the plate or rosette, it’s a concealed type. Look under the lever or edge of the plate for a release hole or cap.
Q4: What should I do if the cover plate gets damaged during removal?
Contact your handle supplier — many brands offer replacement rosettes or covers separately.
Q5: Can I use a power drill to remove screws?
Manual screwdrivers are recommended to avoid stripping or over-torquing delicate internal parts.
Removing a lever door handle with hidden screws requires patience, precision, and the right tools — but it’s far from complicated.
By identifying your handle type, locating the concealed fasteners, and following the correct procedure, you can safely remove the handle and prepare for a seamless replacement.
For smooth-functioning, elegant, and durable lever handles, choose Wingstec — your trusted supplier for premium architectural hardware.
Discover more at www.wingstecmall.com.