erick@spiewakgroup.com
0750-3668626
+86-13428282793


A lever-style door handle is one of the most widely used Door Hardware types in homes, offices, and commercial buildings. It combines ergonomic design, modern aesthetics, and durability.
However, when the handle becomes loose, worn, or you simply want to replace it, you’ll need to know the correct removal method.
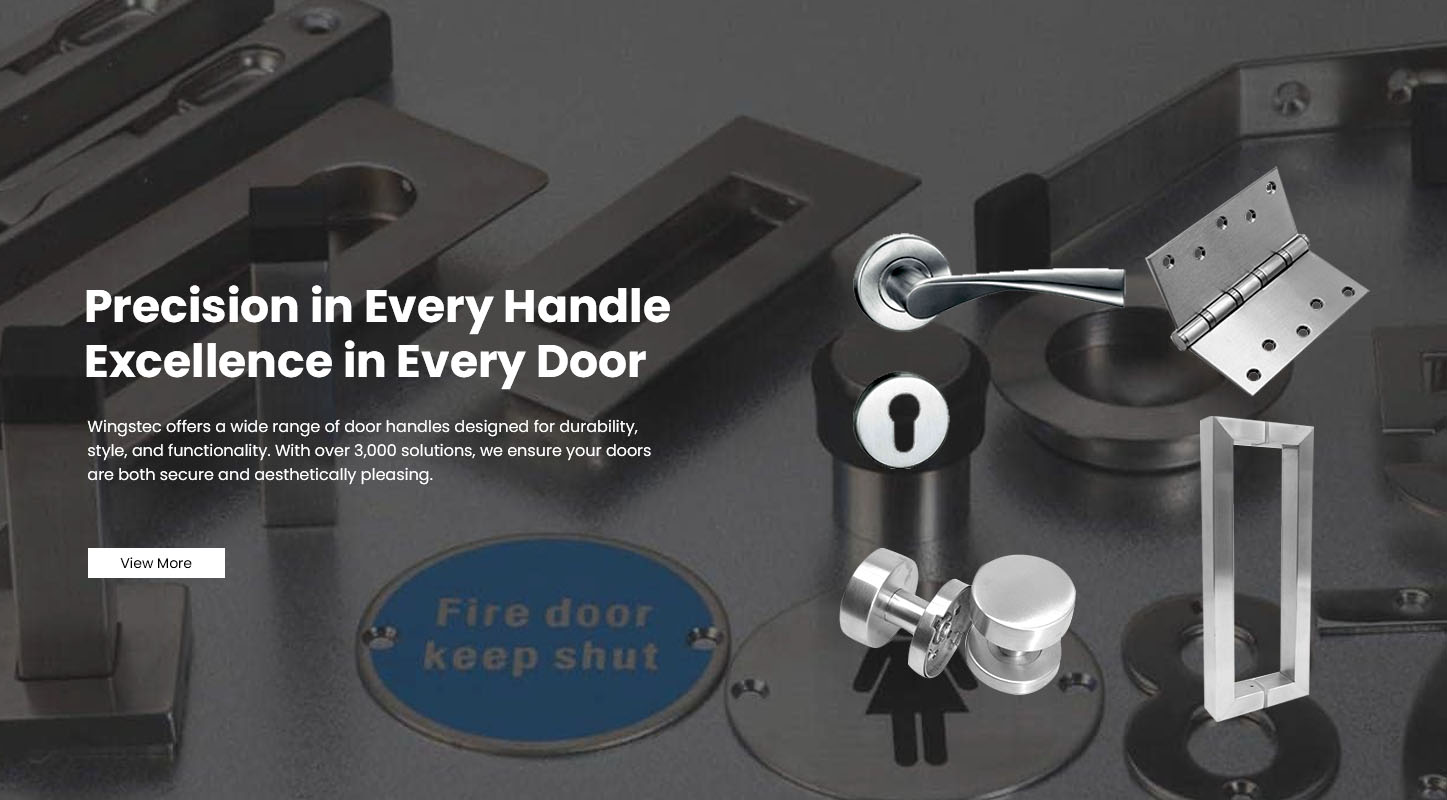
This guide provides a complete walkthrough — from identifying your handle type and preparing tools to carefully removing every part without damaging your door. It also includes troubleshooting and replacement advice from Wingstec, a professional supplier of architectural hardware.
There are several situations where removing a lever door handle becomes necessary:
Replacement: Old or broken handles may need upgrading for better appearance or function.
Maintenance: Cleaning, lubricating, or replacing the internal latch or spring requires temporary removal.
Painting or refinishing: Removing the handle prevents paint drips and allows a neater surface finish.
Reconfiguration: Changing door handing (left/right) or switching handle style requires detachment.
Inspection: When diagnosing lock or latch problems, handle removal gives access to the mechanism.
Understanding the reason helps you plan the removal safely and efficiently.
Before removing anything, identify which type of lever handle you have. The removal process differs slightly for each:
Lever on Rose: A circular base (rosette) hides the screws.
Lever on Backplate: A rectangular metal plate houses both handle and keyhole/lock.
Concealed-Fixing Handle: Hidden screws or snap-on covers create a seamless look.
Through-Bolted Handle: Bolts connect both sides of the handle through the door.
Mortise Handle: Connected to a mortise latch or lock-body inside the door edge.
Recognizing the mounting method saves time and prevents accidental damage.
Phillips and flathead screwdrivers
Allen (hex) key set
Torx driver (for security screws)
Needle-nose pliers
Lubricant spray
Masking tape
Drop cloth or towel
Safety gloves and glasses
Close the door and stabilize it.
Place a cloth beneath to catch small parts.
Photograph the handle’s orientation for reference.
Label different screws to avoid confusion.
Ensure lighting and workspace are adequate.
Proper preparation avoids scratching finishes and losing parts.
Look beneath the lever neck for a small set screw or grub screw.
Use the correct hex key to loosen it, then gently pull the lever away from the spindle.
If there’s a snap-on rose cover, insert a flat screwdriver (wrapped with tape) to pry it off.
You’ll reveal two or more fixing screws holding the handle to the door.
Use a screwdriver to remove all screws. Hold the opposite side of the handle to prevent it from dropping.
Slide out the square spindle connecting both levers.
If the spindle resists, wiggle gently and apply a little lubricant.
Clean around the screw holes, wipe off debris, and check the latch mechanism.
If you plan to repaint or install a new handle, this is the best moment to prepare the surface.
Look for a small hole or removable cap at the base of the handle.
Sometimes, pressing a spring-loaded pin releases the lever.
Carefully pry off caps or covers to expose concealed screws.
Use a Torx or Allen key if required.
If bolts go through the door, hold one side steady while unscrewing the other.
Keep bolts and washers together in labeled bags.
Once fasteners are removed, both sides will slide off the spindle.
Pull them apart evenly to prevent bending the spindle or damaging the door face.
To replace the latch, remove screws on the door edge and slide the latch body out.
Check the mortise cavity for wear or wood chips before inserting a new latch.
| Problem | Likely Cause | Solution |
|---|---|---|
| Screw heads stripped | Wrong screwdriver or corrosion | Use correct bit size or screw extractor |
| Handle stuck on spindle | Rust or paint buildup | Apply lubricant, twist gently |
| Hidden screws not visible | Concealed-fixing design | Look under cover caps or contact supplier for manual |
| Paint blocking access | Old paint layer over screw heads | Score around screw edges with a knife |
| Loose internal spring | Worn internal mechanism | Replace the spring or entire handle set |
After successful removal, a few steps prepare your door for the new hardware:
Clean the surface — remove dust, paint flakes, or adhesive residue.
Inspect holes and latch cavity — fill or adjust if worn.
Lubricate moving parts — a small amount of graphite or lithium grease improves function.
Check alignment — ensure latch and strike plate line up before reinstallation.
Measure — verify door thickness, backset, and spindle size to ensure new handle compatibility.
When you’re ready for replacement:
Position both levers evenly before tightening.
Always test the latch operation before full tightening.
Avoid over-tightening to prevent plate deformation.
Match finishes with existing hinges and door color.
For commercial projects, confirm fire-rating and ADA compliance where required.
Choosing a high-quality handle ensures longevity and reliability.
Wingstec specializes in architectural hardware manufacturing and export, offering a full range of:
Lever handles and door lock systems
Hinges, bolts, stoppers, and accessories
OEM & ODM customization for global projects
Stainless steel, zinc alloy, and aluminum materials
Various surface finishes such as brushed, satin, matte black, or polished chrome
Each product is designed for durability, easy installation, and aesthetic harmony — suitable for residential, commercial, and hospitality doors.
For more handle options, visit www.wingstecmall.com.
Always wear gloves when handling metal parts.
Keep screws organized and away from children or pets.
If the handle is part of a fire-rated door, follow manufacturer instructions precisely.
Apply mild lubricant annually to keep the mechanism smooth.
Avoid using harsh cleaners that could damage finishes.
Regular maintenance extends the lifespan of both handle and latch components.
Q1: My lever handle spins freely. What’s wrong?
The set screw may be loose or the spindle worn. Remove the handle and inspect both parts for wear.
Q2: Can I reuse my old screws?
You can if they’re undamaged, but new screws ensure better grip and alignment.
Q3: The handle won’t come off. What should I do?
Look for hidden pins or concealed screws. Applying lubricant and gently twisting helps loosen tight fits.
Q4: Is removing a lever handle different for glass doors?
Yes, glass-Door Handles use clamping mechanisms, not through screws. Follow the manufacturer’s glass-safe procedure.
Q5: How often should lever handles be serviced?
At least once a year for homes, and every 3–6 months for commercial buildings.
Removing a lever door handle is simple once you understand the mechanism and proceed carefully.
By using the right tools, identifying the handle type, and following the steps above, you can detach it cleanly and prepare for a new installation.
For high-quality lever handles, lock systems, and architectural hardware, choose Wingstec — a trusted global manufacturer providing durable, stylish, and customizable door solutions.
Explore more at www.wingstecmall.com.