


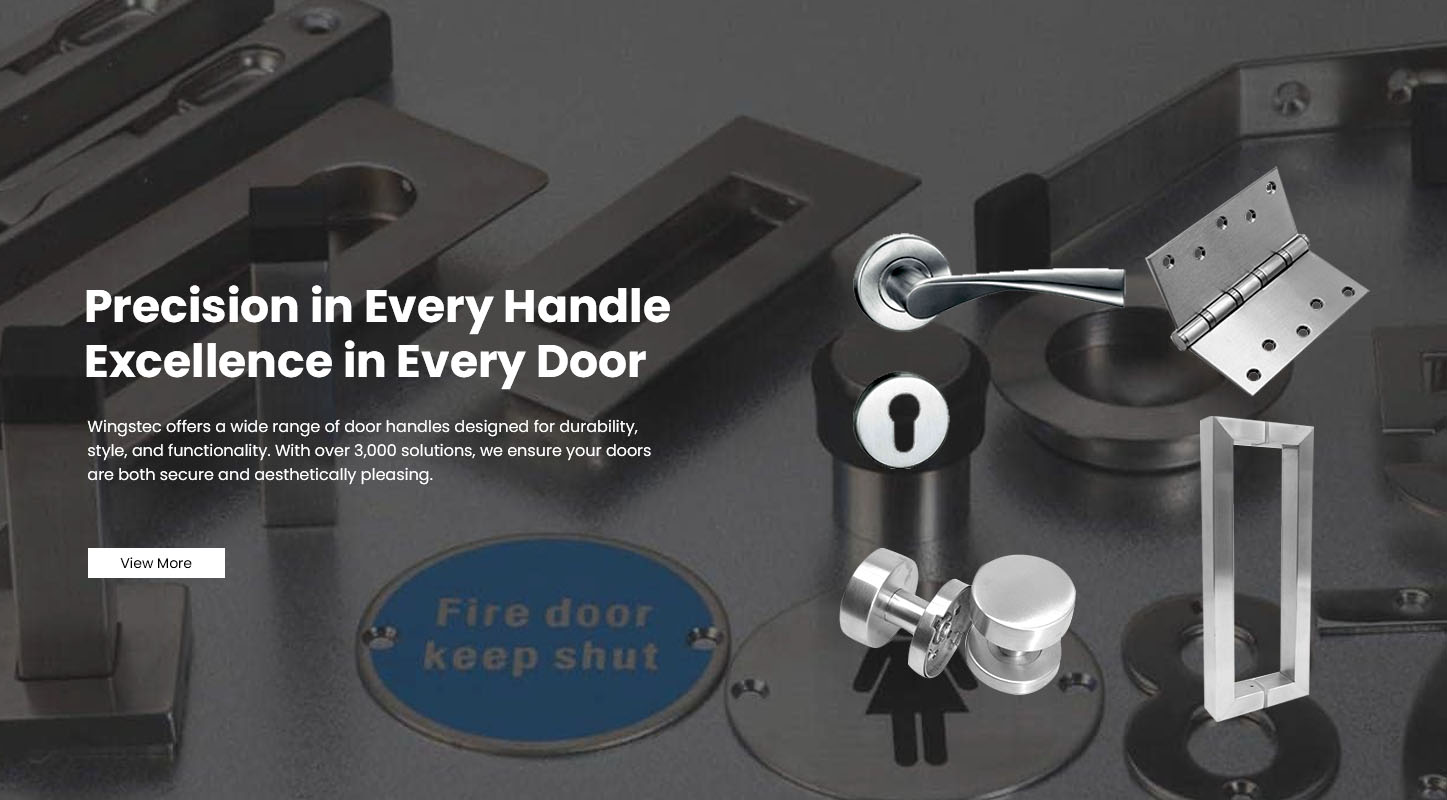
Removing a door handle set requires understanding its fixing structure, which may include visible screws, concealed fasteners, or integrated lock systems. Whether for maintenance or replacement, proper removal ensures the door and hardware remain undamaged.
From a professional hardware manufacturing perspective, modern handle sets are designed for both secure installation and controlled disassembly, especially in residential and commercial applications.
Table of Contents
- Common Types of Door Handle Sets
- Step-by-Step Removal Process
- Special Situations to Consider
- Manufacturer vs Trader: Impact on Disassembly Experience
- OEM / ODM Considerations for Handle Sets
- Manufacturing Process Overview
- Quality Control Checkpoints
- Material Standards Used
- Bulk Supply Considerations
- Project Sourcing Checklist
- Conclusion
Common Types of Door Handle Sets
Lever Handle with Rosette (Hidden Screws)
Decorative cover conceals mounting screws
Most common in modern interiors
Handle with Backplate (Visible Screws)
Screws exposed on plate surface
Easier to remove
Knob or Lever with Mortise Lock
Integrated with internal Lock Body
Requires additional steps for removal
Identifying the type is the first step toward proper disassembly.
Step-by-Step Removal Process
Step 1: Locate the Fixing Mechanism
Check for:
Visible screws on the plate
Small set screw under the handle
Snap-on decorative cover
Step 2: Remove Visible Screws (If Present)
Use a screwdriver to remove screws from the backplate or rosette.
Step 3: Loosen the Set Screw (For Concealed Designs)
Find the small hole under the handle neck and loosen it with an Allen key.
This releases the handle from the spindle.
Step 4: Remove the Handle Lever or Knob
Pull the handle straight off once it is unlocked from the spindle.
Step 5: Detach the Cover Plate
If screws are hidden, gently pry off the decorative cover to expose the mounting plate.
Step 6: Unscrew the Mounting Plate
Remove the screws securing the internal plate to the door.
This separates both sides of the handle set.
Step 7: Remove the Spindle and Latch
Slide out the spindle.
If needed, unscrew the latch from the door edge and remove it completely.
Special Situations to Consider
Tight or Stuck Components
Handles may be firmly fitted due to precise machining. Apply steady, even force instead of twisting.
Painted or Sealed Covers
Decorative plates may stick to the door surface. Carefully loosen them to avoid damage.
Integrated Lock Systems
For mortise locks, additional screws on the door edge must be removed.
Manufacturer vs Trader: Impact on Disassembly Experience
Ease of removal depends on design precision.
| Criteria | Manufacturer | Trader |
|---|---|---|
| Fixing System Design | Engineered and standardized | Generic |
| Component Fit | Precise | Inconsistent |
| Installation Logic | Clear and repeatable | Variable |
| Serviceability | High | Limited |
Factory-designed handle sets allow smoother removal and reinstallation.
OEM / ODM Considerations for Handle Sets
Professional manufacturers design handle sets for both performance and serviceability:
Engineering Design
Concealed fixing systems
Standardized spindle sizes
Compatibility with different door thicknesses
Testing Standards
Installation/removal cycle testing
Load and torque resistance testing
Alignment verification
Custom Development
Handle shape and finish customization
Branding and packaging options
Lock system integration
Manufacturing Process Overview
A high-quality door handle set is produced through:
Material forming using stainless steel, zinc alloy, or aluminum
CNC machining for internal components
Surface finishing for durability
Assembly of mechanical systems
Final inspection and functional testing
Strict process control ensures reliable performance and easy maintenance.
Quality Control Checkpoints
To guarantee consistency and usability:
Component Inspection
Spindle dimensions and fit
Screw and thread accuracy
Assembly Verification
Alignment of handle and latch
Stability of fixing system
Final Testing
Cycle durability testing
Load and torque resistance
Surface finish inspection
Material Standards Used
Material quality affects both durability and usability:
304 Stainless Steel for corrosion resistance
Zinc Alloy for structural stability
Aluminum Alloy for lightweight precision
Hardened Steel Screws for secure fastening
High-quality materials prevent deformation during removal and reinstallation.
Bulk Supply Considerations
For large-scale procurement:
Consistent fixing systems across batches
Standardized installation methods
Stable production capacity
Reliable delivery timelines
Manufacturers with integrated production lines ensure uniformity.
Project Sourcing Checklist
When selecting door handle sets:
Confirm fixing method (visible or concealed)
Verify compatibility with door thickness
Check material grade and finish
Evaluate supplier engineering capability
Request installation guides and samples
Conclusion
Removing a door handle set involves identifying the fixing system, loosening the handle from the spindle, and detaching the mounting structure step by step. While the process is straightforward, the ease of removal depends on the design and manufacturing precision.
For project buyers and bulk sourcing, choosing a manufacturer with standardized systems and strong engineering support ensures efficient installation, easy maintenance, and consistent performance across all installations.